It is not uncommon for doors made from glued or entirely wood to expand, contract and warp at different climatic conditions. Such changes are problematic and can deny homeowners the comfort of having doors that can fully function regardless of the prevailing climatic setting.
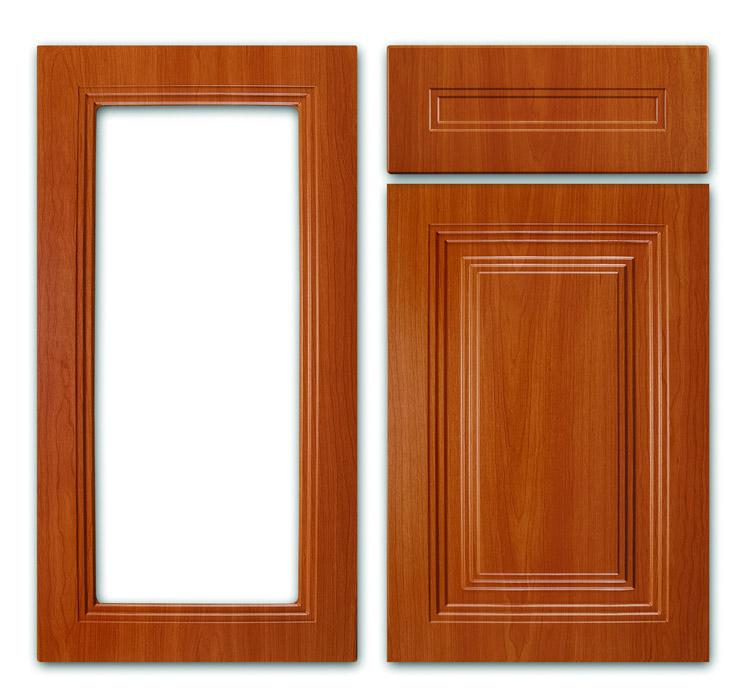
Rail and stile doors are considered an ideal solution to the problem of wood movements (warping, expansion, contraction) since they can firmly hold wooden door panel and prevent unnecessary movements that are caused by seasonal weather changes. Rail and stile doors are also incredibly good-looking, and the strength they add to doors make their installation a huge bonus for homes.
Making rail and stile doors is simple as long as you have all the necessary working tools and some “know how” on how to engage in tasks such as fitting the components to have a working door as the outcome.
Picking the right working tools

The first thing that will be required of you in this woodworking process is to pick the best router bit and stile collection. 2-piece set is highly recommended since it delivers flexibility regardless of the cabinet door you may wish to work on. They also come in different profiles, and you can pick a piece that can perfectly blend with your cabinet door. The fact is that you would also wish for your cabinet door to have durability and that is an aspect that can be determined by the features of the rail and stile router bits you pick.
Thick micro-grain carbide based cutters are ideal since they enhance longevity while CNC-machined router bits can create anti-kickback geometry that adds a lot to their safety whenever they are used. Router bits with the non-sticking coat are also incredibly simple to clean, and the non-sticking coat also enables the routers to operate without excessive friction. Many rail and stile router bits have a 1/4" shank that improves their cut quality and durability. The bigger shanks prevent the bits from unreasonable vibrations or flexing and also helps in creating tight joints.
The shanks also have a laser-etched mark that clearly identifies the part to be used for stile and rail cut profiles. You must get such specifications right since any wrong pick can lead to unintended product outcomes. For convenience, you will need a good router table that can make any woodwork process to be managed. That is because some tasks involved may be so uncomfortable to be handled on hand-held routers. Assuming that you have got all the tools and specifications right, your next step will be how to make cabinet doors using matched rail and stile router bits, and the following steps can be of great help.
Procedure

• Determine the dimensions of your cabinet door and decide on the width of the stiles and rails. Most kitchen doors have 18”x24” and this dimension typically requires 2-1/14” rails and stiles.
• Plane your door frame to have uniform thickness - Rails and stiles on cabinet door frames always have the same thickness. Any deviation in thickness produces mismatched joints, and that would not be a good thing if you favor “cope and stick” joinery. Be sure that you plane your door parts to a uniform thickness. You can have some stocks as test pieces just to ensure that you get to have stiles that have matching dimensions.
• Measure your cabinet door with accuracy - Always remember to verify any dimension you get after measuring the width and length sections of your cabinet. The approach will ensure that you avoid errors which can otherwise prevent you from having the much-needed convenience and precision in your work. Here is how you can determine the length of the rail you intend to use: Subtract the width of 2 styles from the door opening width and add the outcome to the length of a rail joinery.
• You can adjust slot-cutting width if working on doors with plywood or glass panels - some cope-stick bits models are adjustable so that the slot width can vary as the door opens. That feature is helpful when using plywood or glass cabinet doors that have not more than ¼” thickness. Insist on checking the instructions on the router you are using to see if they provide for slot width adjustment. Sometimes, it may be necessary to remove or add washers between slot cutters or consider replacing slot cutters with undersized cutter sets. Insist on having these adjustments before applying routing to any rail and stile joinery. Again, sticking the cutters and coping needs some modification since the required profiles must match.
• Insist on coping the rails first since this procedure can offer you unimagined convenience. You can use a board to prevent any possible tear after you are done coping the rails, and any splintering can be well taken care of by making cuts in the subsequent tasks. Remember not to create any situation that causes the rails to flip or cause a mismatch in the cope orientations.
• Make a matching joint cutter using a routed workpiece – “cope and stick” joints ever needs to have an exact fit. If you are done with coping the ends of the rails, and your attention is now focused on the sticking cutter, you don’t have to measure to get the right cutter height. Instead, rely on the coped profile to make some judgment on the right height to use. Once you are done with lining up the necessary profiles, be certain to have some tests before resolving to mill the door’s frame parts.
• If you are raising the door panels, first start by cutting across the grains, then cut along the grains – this procedure is necessary so that you can avoid unnecessary splinter which can induce some minor damages to the beautiful work you may have done.
• Raise the panels in a progressive manner – panel raising often comes out as a challenging milling operation. To get clean results and also work safely, it is advisable to mill the panels in series, preferably not removing more than 1/16” for every milling series.
Author Bio:
My name's Danny L. Montgomery. I'm the founder and owner of the blog zukzik.com. I love all things DIY & Home Decor. I hope I will be able to share my experiences with the interested readers
from Home My Heaven: Home Improvement Blog http://www.homemyheaven.co.uk/2017/04/how-to-cabinet-doors.html
No comments:
Post a Comment